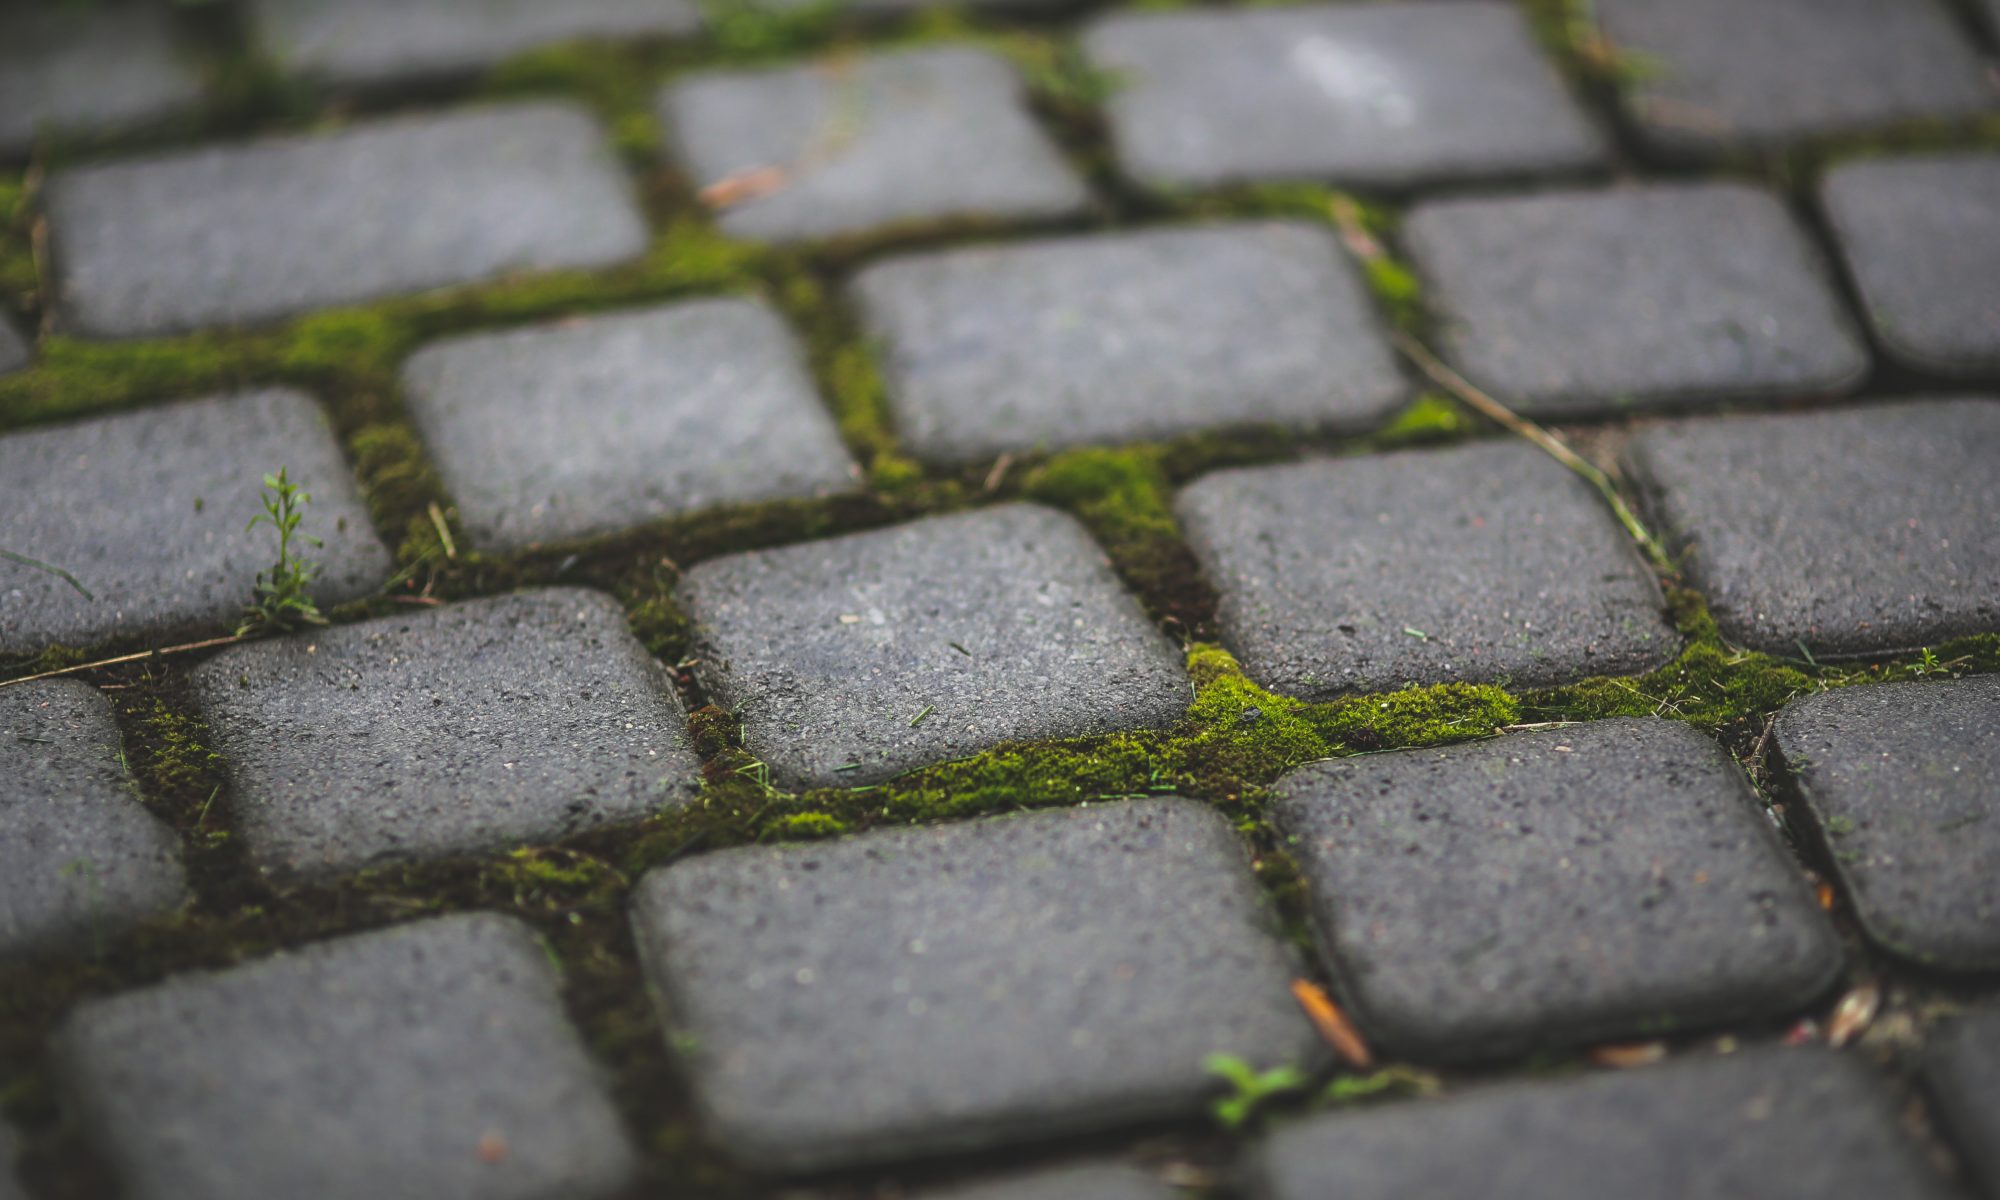
How to Lay the Perfect Patio: Our 15 Step Guide
Building your own patio takes time, patience and dedication but it can end up saving you a small fortune! By simply following a few simple safety instructions and our step-by-step guide, you’ll be able to create a patio for your property.
Patios, for the most part, are generally low-maintenance, and provide a great space for relaxing in your garden or outdoor area. There are various tools you’ll need to ensure your patio is completed swiftly, safely and efficiently, you can take a look at our tool hire page here before we get started.

Planning and Preparation
Before you lay the patio, you’ll need to ensure you have a few core components in place (this is mainly for patio slabs, but can be attributed to other materials):
- You must work on flat, level ground to ensure correct levelling is met
- Design a strong sub-base for the patio to lay on
- If the patio is to be square-shaped, use square paving slabs (if patio shapes aren’t square, simply cut and mould them to fit the square sub-base)
- Adopt a stretcher bond pattern to lay the paving slabs
There is a wide variety of paving slabs to choose from and you’ll need to consider colour, size and pattern. As there are various paving slab options, it’s likely you’ll be able to find a design that fits your budget. Shop around and find a design that you like and will stand the test of time.
Next is finding out the dimensions, be sure to measure the area where your patio will be laid. Having the correct dimensions will not only save you time, but it will also save you money on the number of slabs you’ll be buying. To get an idea of how it will look, lay the slabs down in the designated area to get an accurate portrayal of the final product. It might be worth taking a photograph of this to remember and reflect on throughout the process.
You’ll also need to consider the prospect of damp if you plan on laying your patio direct next to your house. You will need to allow 150mm for foundation mix and paving. This is also to ensure the patio is 150mm below the damp proof course. You’ll also want to ensure your patio has somewhere for the rain to exit, a 16mm per metre fall is usually recommended.
Also, don’t be afraid to ask for help when laying slabs! It’s a tiring process on your own, so try and find some extra hands to speed things up!
Getting the Process Right
If you’re going to remove turf, be sure to keep some in case you want to fill in any gaps left in the patio. If your slabs come in different pallets (shades of similar colours) it’s a good idea to mix them up to ensure the finished design doesn’t look oddly coloured.
Most importantly, don’t apply kiln dried sand on a rainy day!
Health and Safety Considerations
It’s the obvious stuff really. Wear appropriate footwear and gloves when handling and laying slabs. The same goes with handling sand, cement, gravel and whenever you’re digging. Steel toe-capped boots are advised when transporting heavy slabs around the area.
If and when you use a mortar mix or a slablayer, wear goggles and a dust mask to ensure nothing rebounds into your eyes and mouth. Additionally, went and dry cement can cause irritations to the skin, so make sure you cover your skin and handle the cement appropriately.
Our 15-step Guide
- Before you begin laying the patio, use a CAT tool to ensure you’re not going to be hitting any electrical circuits, pipes or cables underground.
- Mark out the patio area with string to give yourself a bearing
- Ensure each corner is square using a set square.
- Before removing the string, mark the area using a shovel or trowel
- When digging out the patio area, allow for 100mm of MOT Type 1.
- Next, add half the MOT Type 1 to create a 50mm layer. Use a rake to ensure its levelled as flat as possible.
- Achieve a flat base using a wacker plate and then add the last of the MOT Type 1 to achieve the 10mm.
- Next, add the slablayer and rake it out evenly to a 25mm depth, then apply water using a hose or watering can and then rake it to achieve a level surface.
- Then, dampen the underside of the first slab and lay it (start in the corner and work your way down).
- Bed the first slab in with a rubber mallet (tap lightly) and ensure its level, as this is the benchmark for the other slabs.
- Lay the rest of the slabs, leaving space for joint width.
- Find something to use as spacers for the joints (wood slabs are a good choice) and regularly check the levelling as you lay the slabs.
- Once your slablayer has been applied, cover it with tarpaulin (in case it rains) and leave it for a few days to settle.
- Once uncovered, fill the joints with slablayer and mix with water to create a damp consistency (apply with a trowel).
- Finish by brushing off any mortar, slablayer and any other debris that may stain your new patio.
Find the Tools You Need
Buying all the necessary tools for a job like this is never cheap. So, you may want to consider hiring some of the more expensive tools, especially if you can’t see yourself using them again in the near future. Mteevan stocks all the tools you need to complete your patio, take a look at our tool hire page and our plant hire page for information on hiring rates.

